

What is a lotion bar?
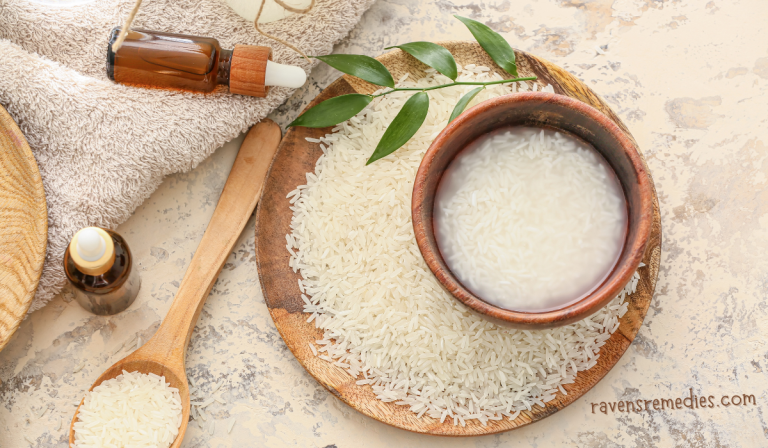
A lotion bar is a solid lotion. It is made with beeswax, various butters, and oils. I first started making lotion bars two years ago and have started making them again after I just completed my online course: Natural Beauty: How to Make Lotions Creams and Body Butters through Udemy. Also, with the winter in full swing, I need even more moisture and something I can take with me places with no hassle. Lotion bars are easy to make, it is just a melt-and-pour process. You can make fun shapes using silicone molds for soap and candy making. Lotion bars are nourishing to the skin and great for travel. I like to put them in a tin or jar for travel. No spilling in your luggage or in your purse. Even if they melt a bit even better, they will glide across your skin and they will harden back up as the temperature decreases. I rub them right on my body or hands for a burst of moisture. They are also not greasy thanks to the high amount of beeswax. The general recipe is easy, it is equal parts beeswax, oil, and butter. You can change out the oils and butter. I have used shea butter, cocoa butter, and various types of oils including avocado, coconut, and almond oil. I like to add fragrance and mica for fun, but it’s not necessary. Here are the benefits of the main ingredients for the recipe below.
Beeswax:
Beeswax has three main roles in skin care. First, it is a natural emollient that softens and hydrates the skin. Second, it is occlusive, meaning it creates a barrier that prevents water loss. Third, it is a humectant, which locks in hydration. Beeswax also contains beneficial antioxidants, vitamins, and minerals. It is non-comedogenic, which means it does not clog your pores. It is also soothing to the skin and is beneficial for burns and skin conditions such as eczema and psoriasis. In DIY projects it serves as a hardening agent and helps harden all the ingredients together.
Cocoa Butter:
Cocoa butter is a rich moisturizer that protects the skin and helps with regeneration. Cocoa butter has a high fatty acid content which nourishes and hydrates the skin. It also is occlusive, forming a protective barrier that holds moisture in your skin. Cocoa butter is rich in oleic fatty acid, polyphenols, vitamin E and vitamin K to name a few. Cocoa butter can be comedogenic to the skin, so it is best to mix with other butters if used on the face. I don’t have problems with comedogenic oils on my body, but I cannot put them directly on my face without diluting them or my skin starts acting up.
Sweet Almond Oil:
Sweet almond oil provides lightweight hydration for the skin. It contains many beneficial nutrients for the skin, including vitamin A, vitamin E, fatty acids, and zinc. Sweet almond oil can soothe irritation and rejuvenate dull skin. It can also help with sun damage and stretch marks. This oil is non-comedogenic, so it does not clog your pores when used on the face.
Recipe notes:
I only use lotion bars on my body. This is because the bar needs to glide across the skin to melt it. In general, you want to tug and pull your face skin as little as possible. This practice will help you retain elasticity over time and keep the skin supple.
Easy Lotion Bars
Ingredients:
1 oz Sweet Almond Oil
1 oz Beeswax
1 oz Cocoa Butter
10 drops vitamin E
20-30 drops essential oil of your choice
Sprinkle of mica (optional, only if you want your bars colored)
Instructions:
Using a double boiler, melt the first 3 ingredients until liquid.
Take off the heat and cool slightly. You want it a bit cooled to pour in the vitamin E and essential oils, as they contain delicate compounds that too much heat can destroy. However, you don’t want the bars hardened too much or you won’t be able to mix in your essential oils. You just want it slightly hardening on the sides of your bowl or measuring cup. This can be a fast process so have your essential oils ready.
Lastly, pour into your molds. This batch made the bars in the header picture: a scant soap bar size and three mini ducks that fit in a 2 oz metal tin.
Scale it your way! 🌿 Love this recipe but want to make a smaller batch? Head over to the Beauty Recipe Scaler. Just copy and paste the ingredients list to get perfectly scaled measurements in seconds. No math, just making.

